Showing posts with label DIY. Show all posts

Tuesday, April 19, 2016

refurbished front porch planter boxes


With the nice weather we had this weekend, I couldn't pass up the opportunity to do a bit of sprucing up before Apple Blossom. We have these concrete planters on our front porch that weigh a million pounds-not really, but close. They are extremely heavy and an eyesore on the porch. I knew I wanted to plant something in them for the spring, but I don't have the greenest thumb. 


We started off by making a trip to Lowes to look at their garden section and pick up some grass seed. I popped in to look at all the flowers they had blooming and I was amazed. Everything was so vibrant and beautiful that I had a hard time choosing. We decided to pick up a bunch of Celosia and another upright annual to add some height to the planters. 
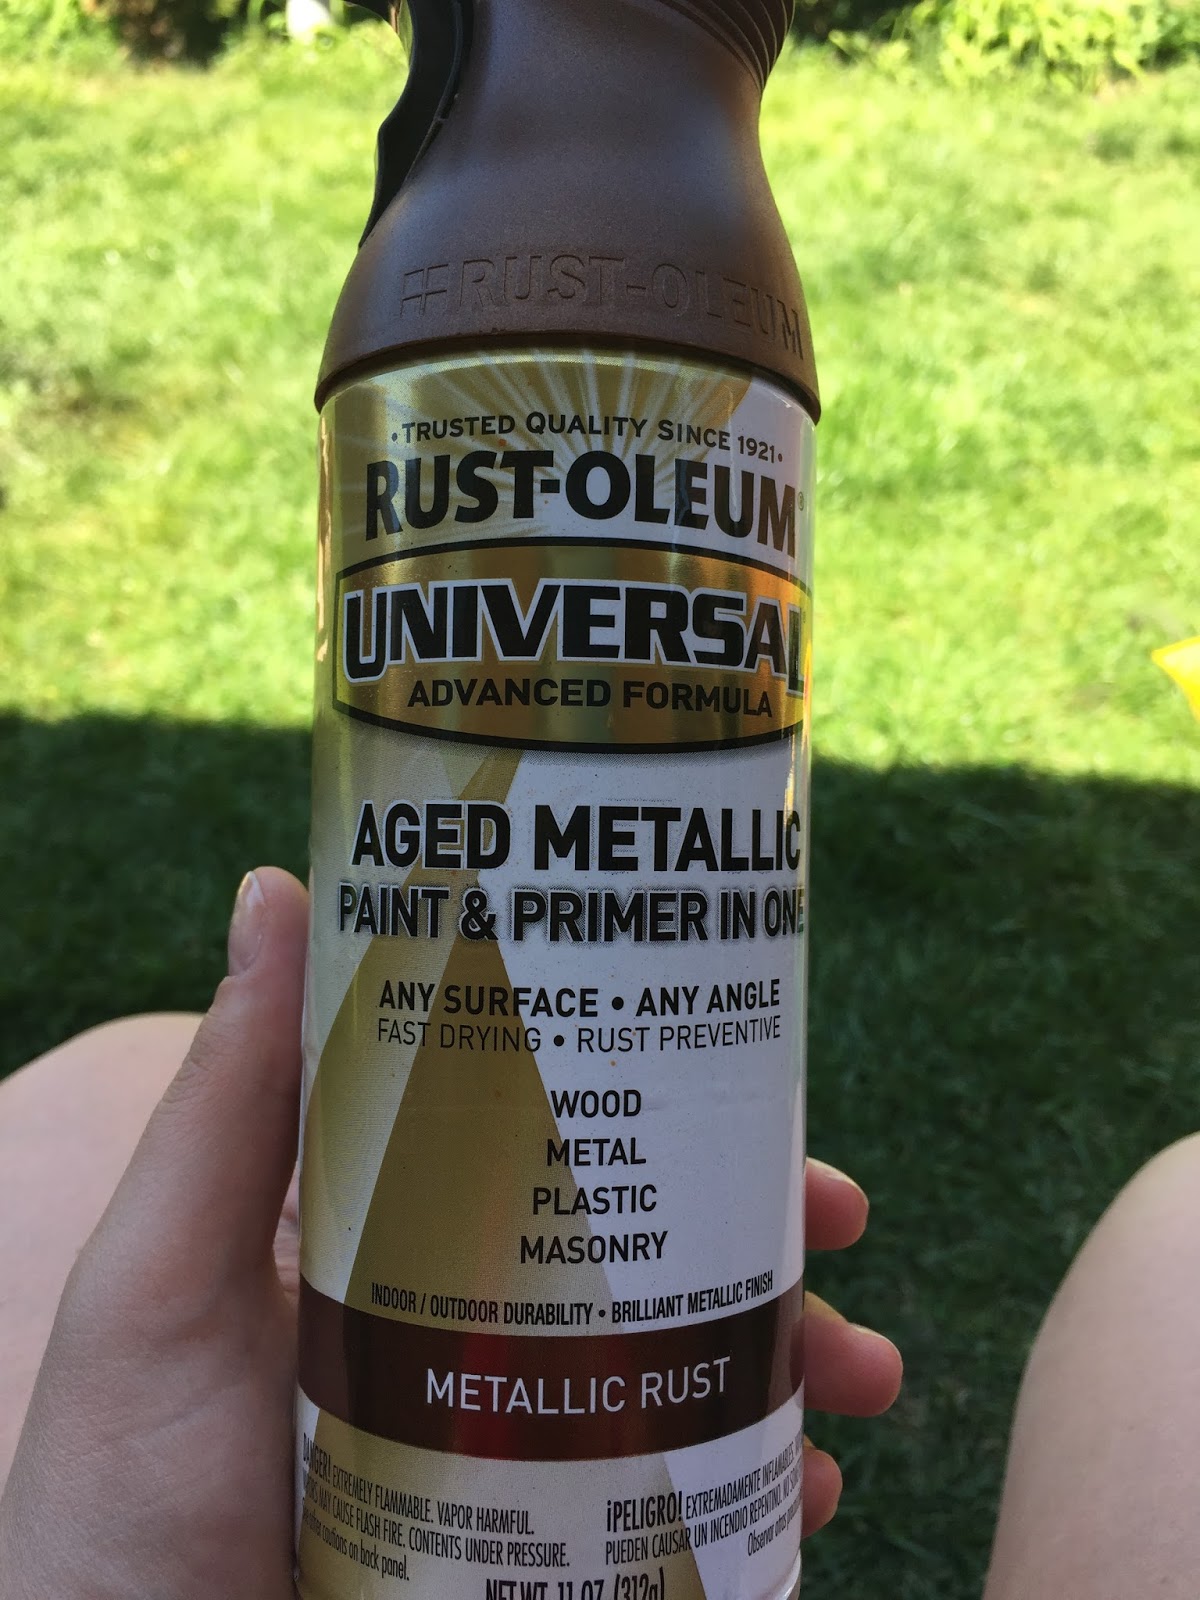


While we were there, I picked up some spray paint that could be used on masonry. We bought the color "metallic rust" and it turned out a bit coppery, but I really like the way it looks against the brinks of the house. 


That's how we turned old concrete planters into something new and vibrant. Can't wait to watch the new plants grow this spring!


Thursday, May 14, 2015

paint decisions


OH THE IRONY! I am sitting here debating paint colors for the new house and its apparently National Painting Week at Sherwin Williams. We have to paint pretty much the entire house, but the first floor needs to be the same color since the house has lots of arc ways and we are making the kitchen an open concept design into the dining room. Obviously I want to stick with something semi-neutral so that we can use any color in the design and furnishings. Here are my top five paint choices for the first floor. 


one. 


two. 


three. 


four. 


five. 


There are literally thousands of colors to choose from-how stressful! Hopefully we will get a paint color picked this week or next and can start painting the walls in the next couple weeks. 


Wednesday, March 4, 2015

pinterest project

In today’s age, where everything is digital, it’s nice to walk to the mailbox and see a hand written message inside. I know for me the mailbox is always full of bills (lots of them), junk mail, random coupons (that you know you will never use, but insist on keeping), and sometimes a magazine. I can’t describe that feeling I get when I see that someone has taken the time and mailed me something instead of sending an email or e-card. My mom will frequently send me cards for holidays and the envelopes will have stickers decorating the outside. I am now getting more wedding invitations and save the dates with age and the quick approach of wedding season. I seem to have some sort of attachment to greeting cards, save-the-dates, birth announcements, and anything else in the form of snail mail BUT I never know how to keep them organized. I found this project on Pinterest and tried my hand at storing all of my cards in a binder/book to keep.


First I gathered all my supplies-which really meant I went to Hobby Lobby and spent wayyy too much time browsing the ENTIRE store instead of actually picking up what I really needed. I did manage to get all of the supplies that I would need in just one shopping trip. Here is a list of supplies that I used.
                1. Chipboard with pre-cut holes 
                2. Scrapbook paper
                3. Letter stickers 
                4. Glue
                5. Mod-Podge (Matte) 
                6. Scissors
                7. Hole-punch
                8. Craft rings
                9. Pencil/Pen

I started by laying my scrapbook paper on top of the chipboard so that I could trace the same shape. I used my pencil and just traced the shape onto the scrapbook paper and cut it out using scissors. I did the same thing for both sides of the “book”, so I only traced twice on scrapbook paper and applied it to the outside of the chipboard. At this point I decided to glue the scrapbook paper onto the chipboard, but not finish with Mod-Podge yet.


Then I took all my cards and lined them up from tallest to shortest. You can organize yours anyway that you like, but my OCD-ness made me line them up as so. Once you have them in the order you want all you need to do is take each card and trace the pre-cut holes (on the chipboard) onto your cards. This was probably the most tedious part of the entire job in my opinion. I would trace a few then hole punch them so I didn't get bored from doing a single task repetitively.


Once all your cards have holes punched in them you are ready to assemble the book. All you need to do is start feeding the cards onto the rings in the order you prefer.  Once I finished adding all my cards to the craft rings I used a thin coat of Mod-Podge on the scrapbook paper to keep everything in place. When I say thin….I really do mean a thin layer. If you put too much on the paper will wrinkle up and rip. After the coat of Mod-Podge was dry I applied the letter stickers. If you are having issues with the letters not sticking to the scrapbook paper, you can always add a little glue to keep them in place. As you can see the finished project turned out quite well and I can easily add more cards as I get them!